
Saved Prompts allow you to quickly reuse common instructions or workflows inside Hapax. This guide walks you through two ways to create a Saved Prompt.
Method A: Create a Saved Prompt from the Main Chat (Quick Start)
Follow these steps if you want to quickly create a prompt directly while working in a chat session.
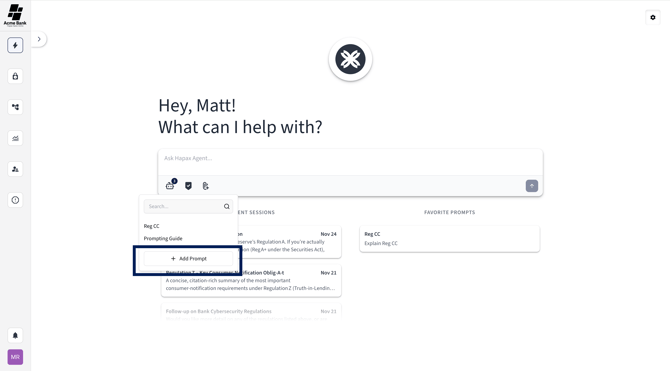
Step 1) Select the Checkmark Icon
While in any chat session, locate and select the checkmark icon in the bottom left corner of the prompt box. This opens the Saved Prompts menu.

Step 2) Select “Add Prompt”
Choose Add Prompt to begin creating a new saved prompt.
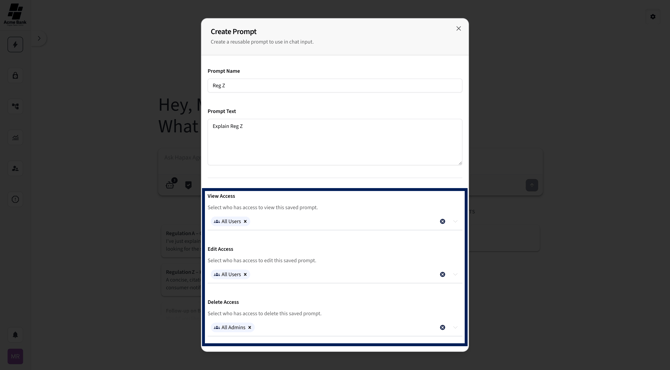
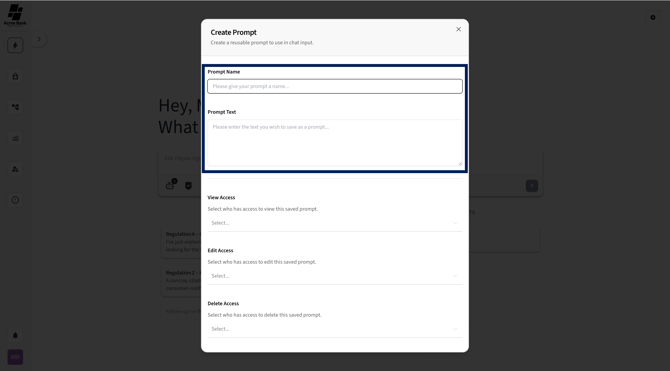
Step 3) Fill Out the Prompt Details
Complete the required fields:
-
Prompt Name: The title you want to give your saved prompt.
-
Prompt Text: The instructions you want Hapax to remember and execute whenever this prompt is used.

Step 4) Set Permissions (Optional)
You can choose who can view, edit, delete, or change permissions for this prompt.
-
View Access
-
Edit Access
-
Delete Access
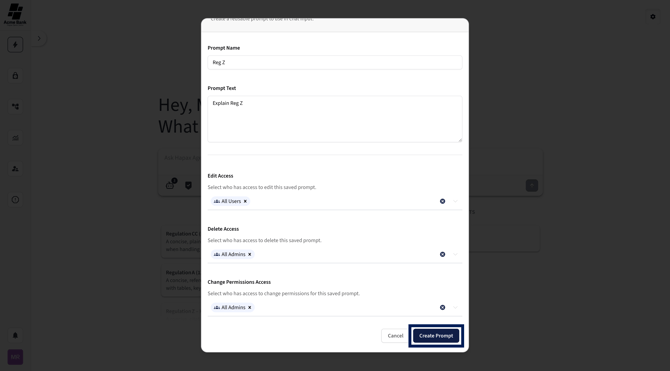
- Change Permissions Access
These permissions are optional but helpful when sharing prompts across teams.
Step 5) Select “Create Prompt”
Once everything looks correct, select Create Prompt.
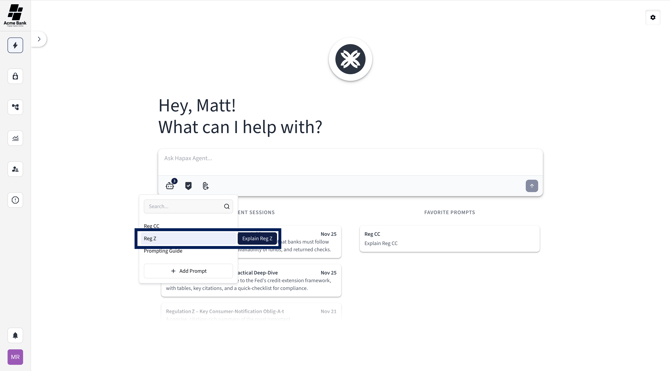
Step 6) View Your New Saved Prompt
Your newly created prompt will now appear in the Saved Prompts popup menu for quick use anytime.
Method B: Create a Saved Prompt from Agent Chat Settings
Use this method when you want to create prompts from your settings area rather than inside a chat.
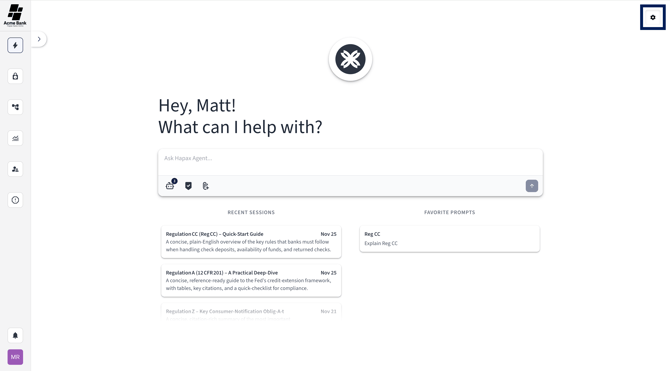
Step 1) Select the Gear Icon
From the top left corner of the platform, select the gear-shaped icon to open Agent Chat Settings.
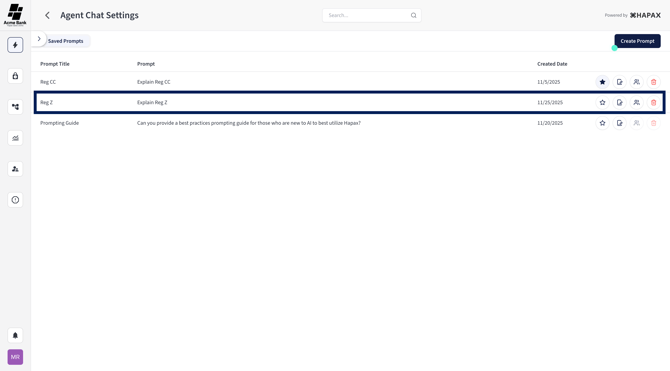
Step 2) Select “Create Prompt”
In the top right corner of the settings view, select Create Prompt.

Step 3) Fill Out the Prompt Details
Enter the required information:
-
Prompt Name
-
Prompt Text
Step 4) Set Permissions (Optional)
Just like in Method 1, you can assign:
-
View Access
-
Edit Access
- Delete Access
- Change Permissions Access
These permissions are optional but helpful when sharing prompts across teams.
Step 5) Select “Create Prompt”
After reviewing your entries, select Create Prompt to save it.

Step 6) View Your Saved Prompt
Your new prompt will appear in the Saved Prompts list inside Agent Chat Settings. From here, you can:
-
Edit
-
Favorite
-
Delete
-
Search through prompts you’ve created or have access to
Done!
You’ve successfully created a Saved Prompt. Whether added from a chat session or the settings area, your prompt is now ready to use whenever you need it.