
This guide will walk you through how to upload a file to the chat in Hapax. Use this feature when you want Hapax to analyze or interpret information from a file. You can attach a file from the Information Vault or upload a new one.
Note: if you upload a new document that isn’t already in the Information Vault, it will save to your personal folder only—not to the financial institution's shared vault.
Step 1) Log In and Begin Attaching your File
Start by logging into your account on the platform with your credentials. This will take you to the main dashboard. Once logged in select, Attach File, to attach either a new or existing file to the chat prompt.

Step 2) Select either Upload New Document or Attach Information Vault Document
Step 3) Attaching the Document
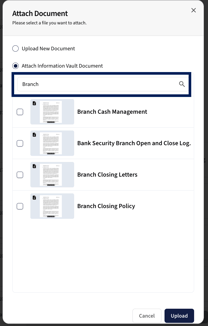
For Existing Documents in the Information Vault
Type into the Search Bar the name of the document that you are wanting to attach to the chat. If you are wanting to attach an excel or csv to the chat, it will need to be an existing document in the information vault.
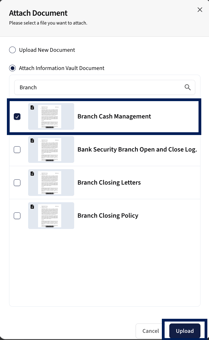
Then Check the Box of the File that you would like to include in the Chat, and then select Upload.
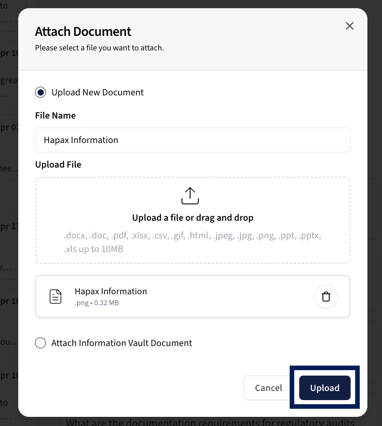
For New Documents (Excluding CSV and Excel)
If you want to attach a new document, excluding a CSV and an Excel document enter the file name and then select upload the file of your choice.
File types can include the following: .docx, .doc, .pdf .gif, .html, .jpeg, .png, .ppt, .pptx, up to 10MB
Once you have uploaded the document, select upload.
You will know that your document is ready to be utilized with a prompt when it is attached below your prompt.

Step 4) Done!
You’ve successfully uploaded a file to the chat. Once attached, you can include the file in your prompt for Hapax to analyze. You can now begin asking questions or requesting insights based on the content of your file.